Wall panelling in the home is a super-hot trend right now, and it shows no sign of going away anytime soon! And guess what, you don’t have to be a DIY pro to give your walls some wow. Just follow our handy guide to get the perfect panelling.
 By Clare
- 9th Jan 2023
- 5min read
- This blog was updated on 4th November 2025
1. Decide on your design
We've gone for Victorian panelling. This traditional style of panelling can span half or the full height of your wall, but you can choose shaker style, shiplap or slatted designs – it's up to you!
What’s the best wood for panelling? If you’re keen to keep your costs down and you’re going to be painting it anyway, go for MDF or plywood – it's easy to work with and decorate.
2. Make your mark
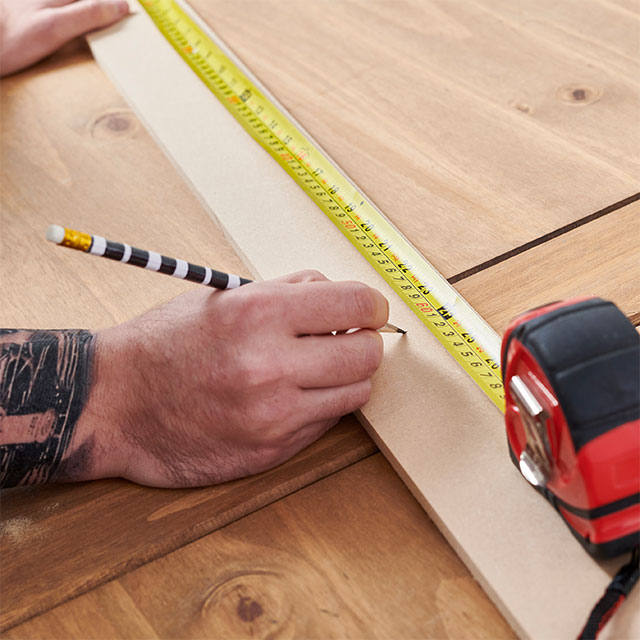
Begin by measuring your wall space, then marking out your panelled design with a pencil. Work from the middle of your wall outwards so you can make it symmetrical.
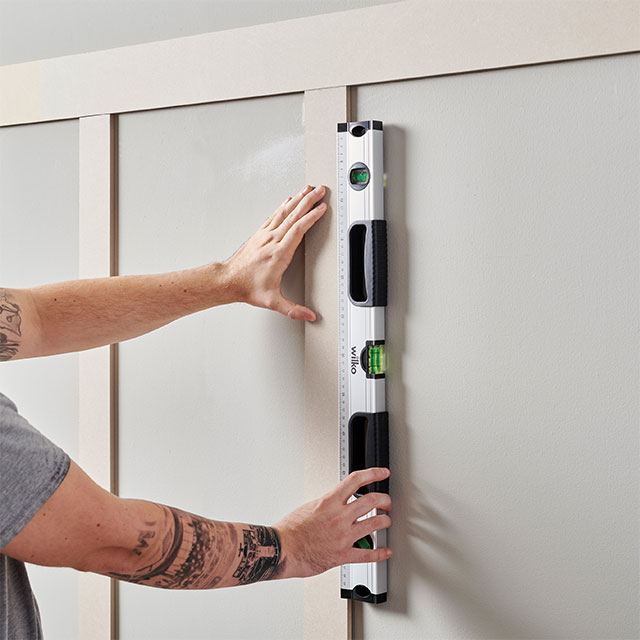
Place markers on the wall with a pencil for reference and don’t forget to use a spirit level for accuracy!

3. Measure twice, cut once!
Now that we’ve planned how the wood panelling will look, it’s time to measure your panels to size based on your design. Once you’ve marked on the wood where to cut, you’ll have to decide on your cutting method. You could use a hand saw or table saw. Make sure you have safety gloves and goggles and a suitable cutting table.
If you’re not confident with cutting the wood, you could buy the panels pre-cut or take them to a local wood yard for cutting by a professional.

4. Prep is the key to success!
Now that we’ve planned the panelling and cut the wood, it’s time to attach to the wall! Before we do that, though, we need to prep the walls for the best possible finish. Using sandpaper (or an electric sander if you prefer) sand down the area that the panels will go on, getting rid of any lumps and bumps.

5. Putting it up
It’s time to get to the exciting part, putting it up! Test that each panel fits before gluing (or nailing) in place, using a spirit level to keep things nice and straight. You might need help if the panels are long.
Apply grab adhesive to the back of the wood panel and place the panel in position against the wall and hold down firmly until set.
Fixing with nails? Place your panels onto the wall based on where your marks are and nail to the wall, making sure you have equal spacing across the length of the panel.

6. The finishing touches
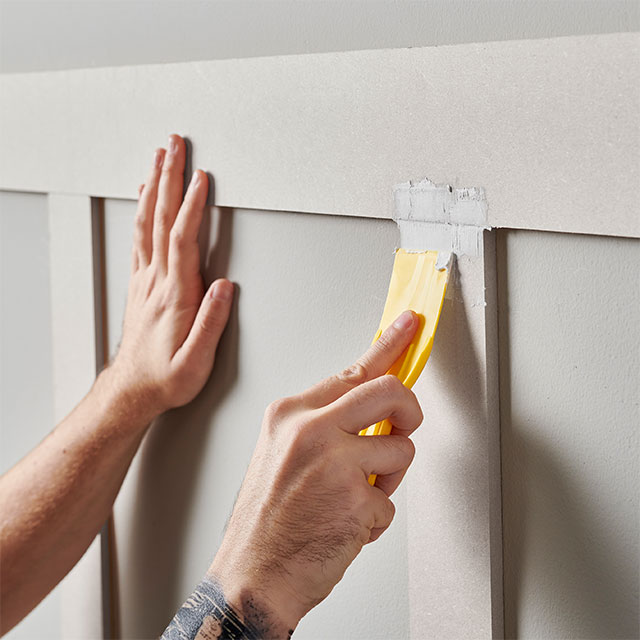
With the panels secured to the wall, we just need to complete the finishing touches before painting! Fill any joints with wood filler and sand them down for a smooth finish. Sand off any rough edges too.
Top tip - if your walls aren’t quite straight you can use decorators’ caulk and smooth down the edge of each panel to hide the gaps.
Once everything is set and dry it’s time for paint! Apply two coats of paint to the panelling and wall, letting it dry between each coat.

Are going to be trying your own panelling? Or maybe taking on another DIY project around the home? We'd love to hear all about it. Let us know on Facebook, Instagram, TikTok & X.