How to apply self-adhesive vinyl film
Whether you’re refurbishing your home surfaces, giving furniture a new lease of life, or adding privacy to your home, self-adhesive vinyl film is a fast & cost-effective way to transform your space! With the help of d-c-fix, we’re going to show you how easy it can be to apply peel & stick vinyl film in your home.
 By Alex
- 20th May 2024
- 4min read
- This blog was updated on 12th May 2025
How to apply self-adhesive vinyl film to surfaces
Your home furniture puts up with a lot on a day-to-day basis: knocks, scratches, and spills can all lead to wear and tear, which can be expensive to replace.
Luckily, peel & stick vinyl film can be used to revitalise your surfaces, and it’s so easy to do!
Tools for the job:
1. Make sure your surface is spotless
Preparation is key: use a cloth and a household cleaner to clean your surface before applying vinyl film. Dirt & dust can cause unsightly lumps & bumps and stop the vinyl from adhering properly.

2. Measure & cut
Carefully measure the surface you’d like to cover before cutting the vinyl to size with scissors – remember to include enough vinyl to wrap underneath if you’re covering areas like kitchen worktops or tables. If in doubt, cut slightly more than you need.

3. Apply vinyl film
Don’t remove the backing all in one go – that’s asking for trouble. Peel back a small section at a time and slowly smooth it down from side to side, removing the backing paper gradually as you go.

For neat corners, use your scissors to make a diagonal cut towards the corner. Fold one flap around and stick down before sticking down the other flap. Trim away the excess, and voila: neat and tidy corners!
The d-c-fix applicator kit is invaluable here, as it includes a handy scalpel and a smoother for a pro finish.
Pro tip: Spray glossy surfaces with water before applying vinyl film – it helps it glide into position without creasing!

4. Remove air bubbles
If you get an air bubble, don’t panic! Peel back & reapply if you catch it early, or simply prick with a pin before smoothing out.

5. Use a hairdryer for a smooth finish
If you’re wondering how to get your vinyl to work on rounded edges, it’s time to get the hairdryer out! Applying heat can help you apply the vinyl on round tables or worktops. When it’s time to remove the vinyl, heat can be helpful here too!

How to look after peel & stick vinyl film
Once your vinyl is applied and you’ve finished showing everyone what a good job you’ve done, it’s very easy to look after. Simply use your favourite household cleaner to wipe clean.
With multiple uses around the home, your vinyl wrap is heat resistant up to 70°C for short periods, so you don’t need to worry about cups of tea or warm plates damaging the surface.
To remove the vinyl, use your trusty hairdryer on a low setting to warm the adhesive before peeling off. If there’s any residue left over, simply use some warm soapy water to remove it.
Benefits of using self-adhesive vinyl film
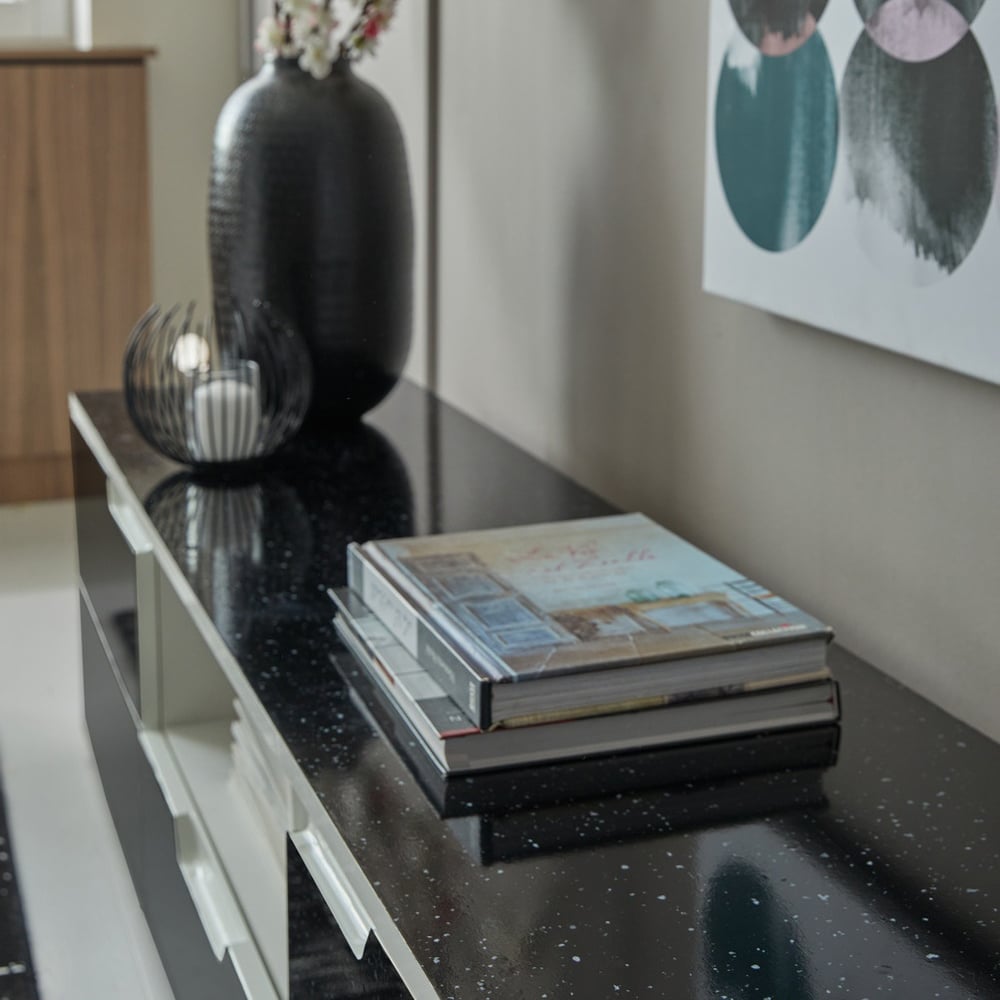
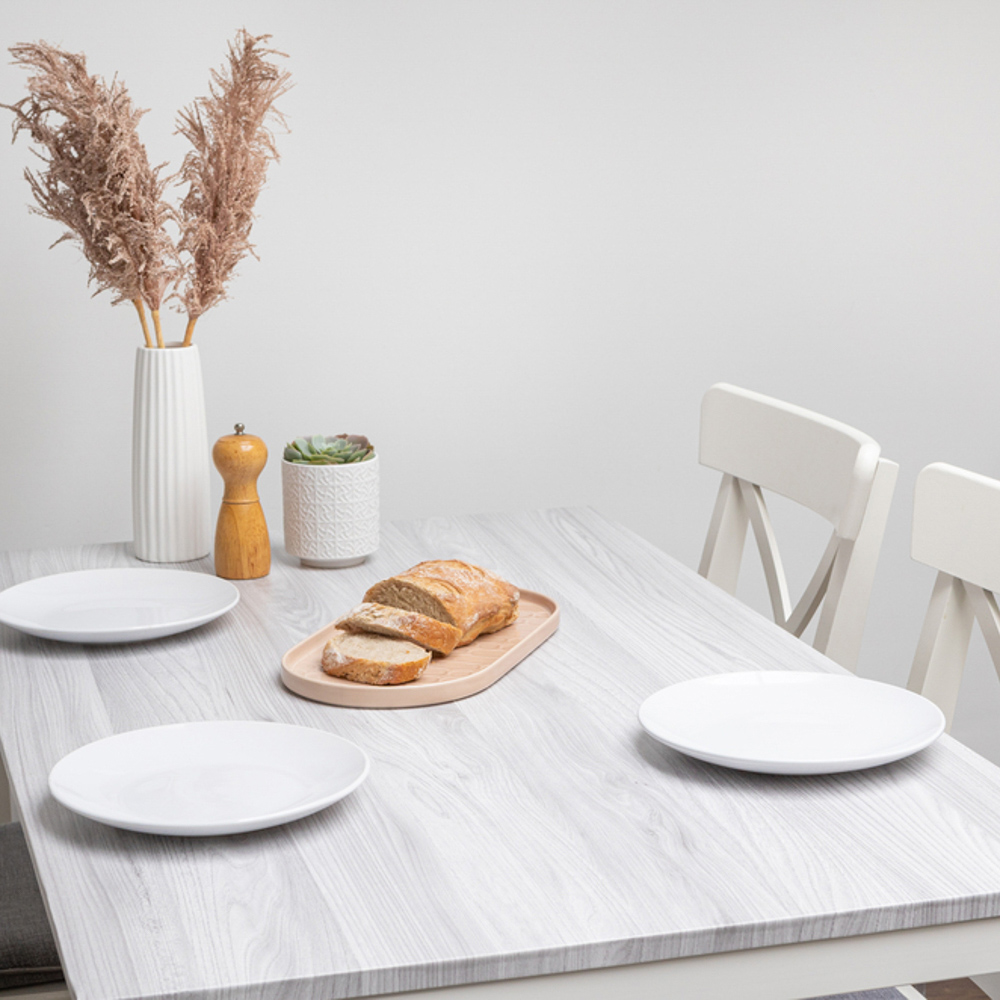
Vinyl wrap is easy to use and can quickly transform all sorts of surfaces in your home: kitchen worktops and cupboards, tables, desks, wooden headboards, shelves, doors & more can all be dressed to impress with vinyl film.
There are no limits to the colours & patterns that it can provide. There’s classic colours, woodgrain, and marble effects, as well as bold patterns if you’re looking to make a statement!

Vinyl for rental homes
With minimal tools, even the beginner DIY enthusiast can add a new dimension to their home. Peel & stick vinyl film is both easy to apply and easy to remove – perfect for rental homes, or if you simply fancy a change.
Regardless of whether you own or rent your property, it’s important to make it feel like home! As a tenant, making permanent changes often isn’t allowed – which is where peel & stick vinyl film comes in. Not only can you decorate your space by covering worktops and kitchen cupboards, but they’re easily removable when the time comes to move out.
It really is the best of both worlds!

For more ideas on how to refurbish your home for less, follow us on Facebook, Instagram or X or TikTok
All images supplied by d-c-fix