Adding a border to your garden is a great way of bringing some colour and interest to an unloved area. If you choose the right plant varieties, it can bring beneficial bees and insects to your garden too! Follow our four simple steps and you’ll have a beautiful border in no time.
 By Rochelle
- 3rd March 2023
- 8min read
1. Plan your plot
Start by deciding where you want your border to be. Will it run alongside fencing, sit in a corner, or line your patio or path? Corner borders are ideal for smaller gardens as they won’t take up too much space but will still create an eye-catching feature. You could even play with the shape of your border; it doesn’t just have to be straight. Why not try a curved design? You could use a garden hose to lay out the shape before digging it out.
If you’re planning a thin strip, for example to run alongside a path, bear in mind that you won’t be able to include as many varieties or multi-layered planting.
Borders that are placed against a backdrop such as fencing or a wall are great for planting taller varieties as it’ll give your plants a solid support as they grow.
Once you’ve decided on your location you can start to pick your plants. Before you do this, work out whether your border will be in a sunny or shaded spot, or a mix of both. Plants such as evening primrose, poppies and honeysuckle thrive in sunny spots whereas hydrangea and azalea are better suited to partially shaded borders.
You can also mix and match plants of different heights and colour to create variation and interest. If your border is against a wall or fence, climbing plants such as roses and clematis are a great choice.
Finally, if you’re looking to create an all-year-round border, choose a mix of plant varieties that bloom at different times of the year so you can enjoy pretty pinks and purples in the summer through to deep reds and oranges in autumn.
2. Get digging
So, you’ve chosen your spot and you’ve picked your plants, now it’s time to roll up your sleeves and get digging!
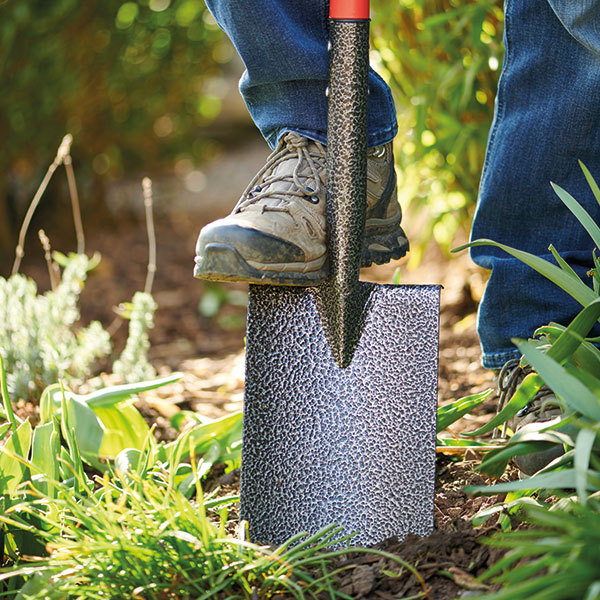
Cutting a border into your lawn? For neat borders, the best garden tool to use is a lawn edger. Push it all the way into the ground and keep the cuts joined together as you follow the shape of your border. Then use a garden spade to lift the grass and roots away from the soil. Try to leave as much of the soil in your border as possible.
Top tip – put the dug-up grass to one side. When it dries out, you’ll be able to break it up and dig it back into your soil.
Remove any debris, stones and old roots before using a garden rake to create a nice level surface that’s free of large clumps of soil.
Finish by mixing a layer of organic matter or compost into the soil so your new plants will have a nutrient-rich home to thrive in.
Top tip - for a really neat border we recommend adding log edging. It makes it much easier to mow the lawn too without accidentally cutting flower heads!

3. Choose your design
Careful planning is really important when filling your border. Pop your plants into position on your border, leaving them in their pots until you’re happy with the layout. Keep tall and climbing plants towards the back of your border, and make sure sun-worshippers are in the brightest spots. Try to repeat the same variety or colours along the border to give a more uniform, designed look.
When you think you’ve got the layout just right, your plants are ready for their new home.
4. Planting time!
Now onto the fun part! Dig a hole that’s just slightly deeper and wider than your plant’s pot before carefully removing your plant and popping it in the ground. Fill any gaps with soil and press down before giving each plant a good water. Repeat this with all your plants, making sure you leave at least a 12” (30cm) gap between each plant so they’ve got plenty of room to grow. Make sure to keep new plants regularly topped up with water until they’re properly established.
And that’s it! Your new border is complete!
We'd love to see your beautiful border creations. Share some pics over on our social channels: Facebook, Instagram, TikTok & X.