We all have those bits and bobs around the home and garden that we've slightly fallen out of love with. Give them a new lease of life with a few of our easy upcycling tips and tricks that’ll have you swooning for them all over again.
Whether you’re getting stuck into doing up a side cabinet or touching up a table, we’ll help you get it done. Not only will it save you some pennies, a bit of upcycling also helps reduce waste - it's a win win. So, without further ado... spray cans at the ready!
 By Sarah
- 18th Feb 2022
- 7min read
- This blog was updated on 20th August 2025
Upcycling essentials
Before you get started on your next project, make sure you protect your space and have all the right tools to hand:
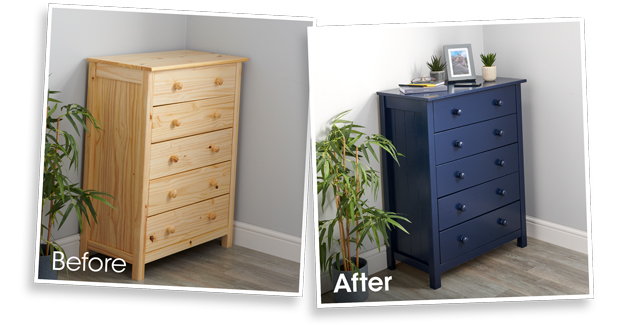
Upcycle with paint
It’s important to always paint in a well-ventilated area – get outside if it’s sunny and not too blowy, or make sure you open plenty of windows if you’re stuck indoors! Protect the area you’re painting with a dust sheet, old sheet or newspaper. Of course, always make sure you follow the instructions for the products you’re using, but here are some of our top upcycling painting tips:
- Remove all hardware like handles and hinges – they’ll always look better than if you try to paint around them and you could always give those a mini makeover of their own
- Whatever it is you’re upcycling, start by creating an even surface by sanding down and filling any holes
- It’s all in the prep! Primer creates the perfect base for your paint in terms of coverage, colour and finish – so it’s not a step to skip!
- Try to lift the item you’re painting off the floor so you can reach the bottom of legs and other tricky bits more easily. For big items, use old paint pots, scrap blocks of wood or food tins. For small, light items try using bits of sticky tack just to raise it up slightly
- Let your furniture dry properly before moving it or touching it. Always check the recommendations on the tin or bottle

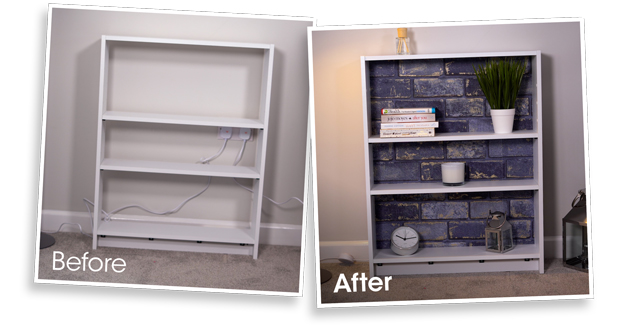
Upcycle with wallpaper
Got some leftover wallpaper to hand? Why not use it for an upcycle that’ll bring the whole room together. If the furniture you’re upcycling is made from MDF or veneer and can’t be fully sanded down, wallpaper is a great option to pop in some personality. Not sure where to start? Here’s how to do a simple wallpaper upcycle on a veneer chest of drawers:
- Unscrew handles then gently sand away any lumps and bumps with low-grit sandpaper. Wipe away any dust
- Roll out your wallpaper on a clean pasting table or art table
- Take out your drawer and place it front face down on the back of your wallpaper
- Mark around the drawer with a light pencil, making sure to make an indent with the pencil where the handle screws should be
- Move the drawer to one side then using a retractable knife, cut out your drawer shape
- Mix the required amount of paste and then spread the paste onto the paper with a paste brush or roller
- Stick in place and spread out from the middle using a brush or roller
If you don’t fancy getting messy with wallpaper and paste, you can always use peel and stick wallpaper. Simply cut to shape, peel off the backing, stick in place and you’re good to go!

Out with the old, in with the upcycled accessories!
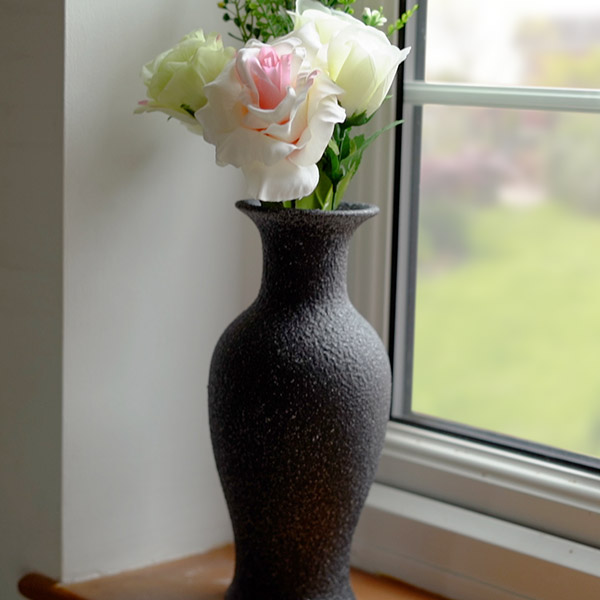
Upcycling doesn’t have to mean big furniture projects. Got an hour free this weekend? Dig out any old vases, ornaments, candle sticks or general bits and bobs you've fallen out of love with, and get ready to fall in love again! Make sure to use a spray paint primer for starters to get the proper adhesion and finish of your chosen spray paint, then get spraying with your favourite new colour!

DC-Fix sticky-back plastic
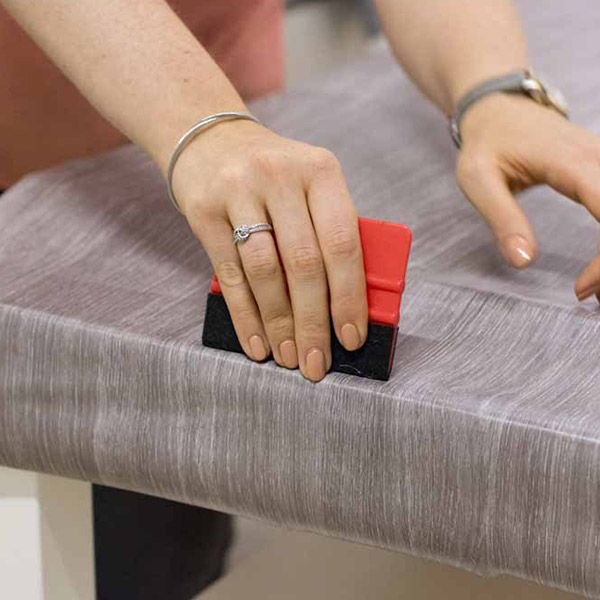
If you liked the sound of our wallpaper makeover, you might like the idea of self-adhesive DC-Fix vinyl even more! This type of hardwearing sticky-back plastic can even be used on kitchen worktops for a super cheap and quick refresh! What’s more, when you fancy a change, simply peel back the film and remove any residue with warm soapy water.
For the perfect finish every time, follow our simple steps:
- First off, make sure the area is smooth, free of dust and grease
- Measure the area you need to cover then cut to size using the handy grid on the backing paper
- Loosen the back paper at one corner and peel off approx. four inches
- Place the peeled off corner at one edge and peel the protection paper off the reverse, smoothing the sticky-back onto your surface
- Smooth out any air bubbles from the centre to the edges
- Trim any excess film with a retractable knife for the perfect finish
Top tip: if you find a particularly tricky air bubble, pop the film with a needle to release the trapped air.
You can visit our blog on how to apply self-adhesive vinyl film for the full rundown.

And there you have it! What are you planning on transforming? We’d love to hear! Let us know on social media by tagging us on Facebook, Instagram, TikTok & X