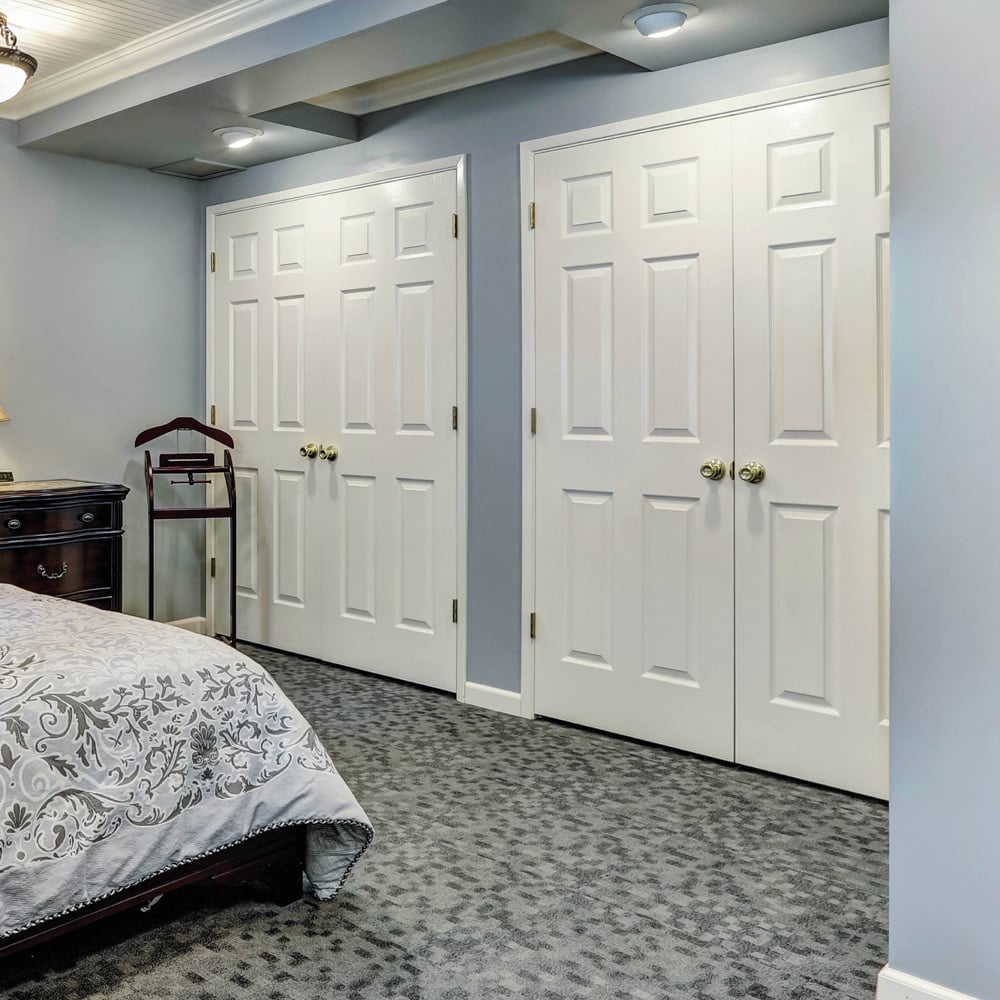
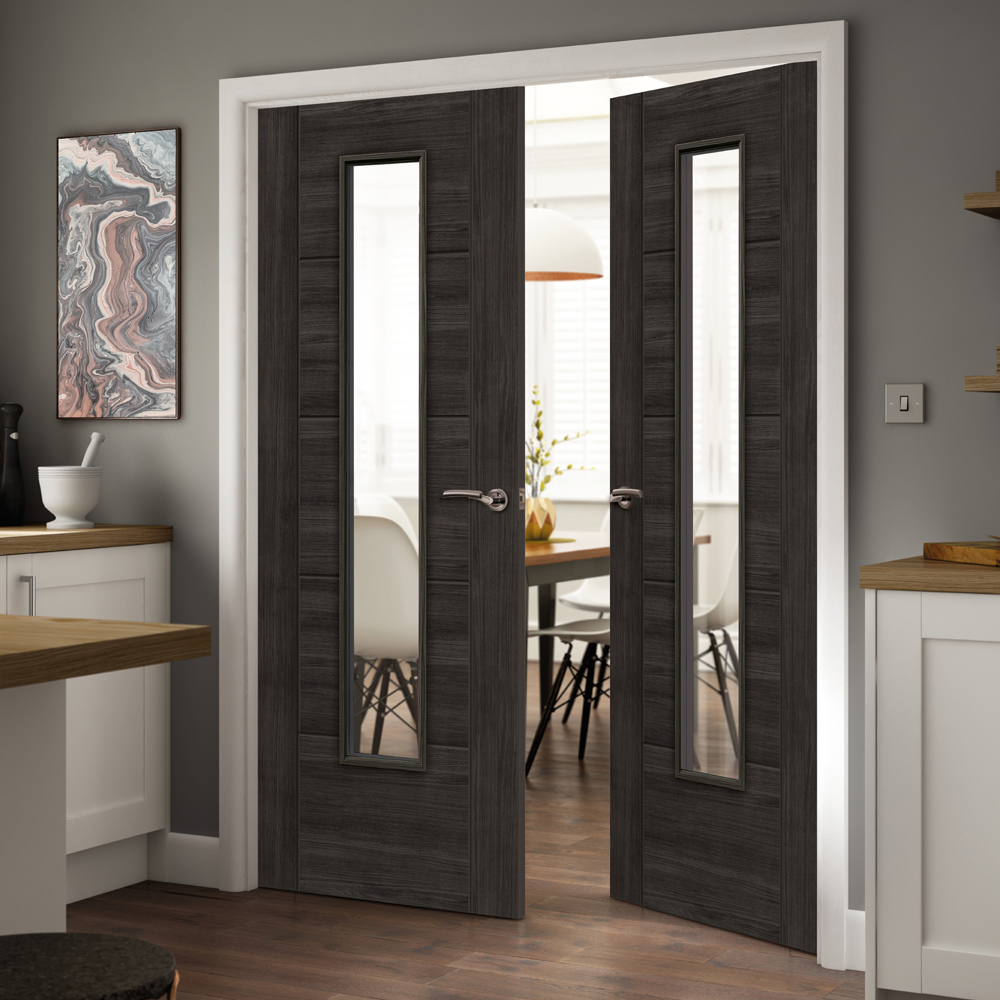
Upgrading your internal doors can do wonders for your home styling! With the right prep, measuring & installing your new doors can be easier than you think.
Hanging a door can be a challenge if you’re a beginner, so you may want to leave it to the pros – however, if you’re handy with your tools and know your plane from your chisel, it can be done by a keen DIYer.
So, step up your game and open a world of possibilities for your home décor with our guide to how to measure and hang a door!
 By Alex
- 25th June 2024
- 5min read
- This blog was updated on 1st July 2025
How to measure for internal doors
Whether you’re refitting all the doors in your home or just replacing one, measuring for the perfect fit is very important – doors aren’t much good if they don’t close properly, or they let in draughts!
Even if you’re replacing an existing door, we’d always recommend measuring the frame itself for the perfect fit.
Top tip: Our internal doors are sold in standard sizes. You should always round up your measurements to the nearest door size available – you can trim them down, but it’s impossible to make them bigger!
Door width
Ever heard the phrase ‘measure twice, cut once’? Well, in the world of doors, that isn’t always enough: we recommend you take 3 measurements of the width of your door frame.
Use your tape measure to carefully measure the width of your door at the top, middle, and bottom. The widest measurement is the width of the door you need.
Door height
Taking this measurement is a little trickier, as you may need something to stand on. Getting a friend or family member to help you is useful for getting accurate measurements!
Run your measuring tape from the top corner to the bottom corner of your door frame on both sides – the longest measurement is the height of the door.
Door thickness
Measuring the thickness or depth of your existing internal door is useful here, as well as measuring the ‘rebate’ of the door frame where the door sits.
Both these measurements should be a close match which works with one of the standard door thicknesses.

How to fit internal doors
Hanging your new doors may feel overwhelming, but with a bit of know-how and the right tools, an experienced DIYer can fit internal doors with confidence.
Before you get started, make sure you’re not fitting your door in areas that have recently been plastered, or anywhere that is damp or unheated. These conditions aren’t good for your doors, so make sure the environment is dry before continuing!
1. Remove the packaging
Carefully remove any packaging from your door, like a great big present!
2. Seal your door
For wooden internal doors, it’s well worth giving them a coat of varnish or interior wood paint for longevity and appearance. You’ve gone to all this trouble to fit it; it would be a shame for your doors to look past their best sooner than you hoped!
Many doors will arrive pre-treated, but with untreated or primed doors, you’ll need to give it a coat of varnish or paint. Test a small area first before applying the treatment to the whole door.
Oils will nourish the wood and protect it from the inside, while varnishes will form a protective layer on the outside.
3. Mark where it needs trimming
Doors aren’t always an exact science, and you may need to trim your door down slightly to make it fit perfectly.
With a pencil, mark where the door needs trimming. For small width reductions, you should trim from the hanging edge where the hinges are, as this side remains hidden pretty much all the time. For larger reductions, you should trim equally from both sides to keep things balanced – this is especially important on panel doors.
4. Trim the door
Use a plane to carefully remove small pieces from the door, and remember to keep checking the door against the frame so you don’t take too much off. Make sure your plane is nice and sharp before working to avoid splintering, which also makes the job easier and safer.
For very small adjustments, sanding the area may be enough.
Ideally, you should have a small gap of no more than 2mm around the top and side of the door.
Top tip: Always reseal any exposed edges on your doors after trimming, which protects the door from moisture – no one wants a misshapen door!

5. Mark the position of hinges
Mark the position of your hinges to match up with the spaces in your door frame. You should use 3 high quality hinges with steel washers to keep your door exactly where it should be!
6. Cut the recess for the hinges
Once you’ve made your marks, draw around the hinge plate you’re using with a sharp pencil to give yourself an accurate outline on the side of the door. Then, measure the thickness of your hinge plate and make a mark of that on the face of the door so you don’t cut too deep.
Using a sharp chisel and mallet, make a series of cuts to the depth of your hinge plate, spacing them a couple of millimetres apart to prevent the wood from splitting. Then remove the cut wood from this section with your chisel.

7. Attach the hinges
Pop your hinge plate into position and drill some pilot holes where the screws will go using a drill and slim drill bit. This makes it much easier to attach the screws and prevents the wood from splitting.
Using a drill or screwdriver, fix in your screws nice and tightly to attach your hinges. Depending on the door that was fitted previously, you may need to enlarge the recess on your door frame to fit the new hinges.

8. Hang the door on the doorframe
We’d recommend getting someone to help you with this bit! To begin with, attach only 1 screw through the hinge plate into the doorframe to test the door. If it isn’t sitting quite right, try tightening or loosening one of the screws. If the door rubs slightly when opening and closing, you may need to remove the door again to either sand or plane down the area that’s rubbing – that’s why you shouldn’t put all the screws in just yet!
Once you’re happy with the way it’s sitting, you can attach the rest of the screws.
9. Attach handles, knobs & latches
You’ll now need to attach a door handle or door knob, as well as a lock mechanism if necessary. Most of our locks & latches will have guidance or templates on where these should be placed. For a less labour-intensive way of adding extra privacy to your door, a simple door bolt is fine for most internal doors

Upgrading your doors doesn’t only make your home look better; it can help with soundproofing, privacy, light levels, and even keep warmth in during the cooler months.
Take a look at our brilliant range of internal doors, offering brilliant value and high quality. We’d love to see your home renovation projects – feel free to chat to us o Facebook, Instagram, TikTok & X.