Picture perfect: How to create a gallery wall
If you’ve got a spare blank wall in your home that you think needs a bit of love, but you’re not sure about wallpapering, then a gallery wall could be just the quick fix you need. Here we’ll share our winning gallery wall ideas and walk you through our simple guide to creating one of your own in just 5 steps. Spoiler alert: it’s super easy and will look great when it’s done!
 By Rochelle
- 11th June 2021
- 6min read
- This blog was updated on 9th December 2025
So, what’s a gallery wall?
A gallery wall is a lovely way to create a feature wall in any room using a collection of picture frames arranged together. You can let your personality shine through a gallery wall as the frames can be filled with your own unique selection of photos, favourite images, artwork, objects, quotes, or a mix of them all.
Our easy guide is full of all the gallery wall inspiration you need to totally transform your space, with none of the painting and decorating. All you need are a few frames, a little creativity, and plenty of imagination. You’ll have yourself a completely personal feature wall in no time.
Step one
Choosing your gallery wall frames
Start by looking around the space you plan to use for your gallery wall. What colours are nearby? What style of home do you have? If your house is modern and minimalist, then shabby chic frames will probably look a bit out of place. Size wise, try to match the size of the frames with the size of the space, like using large frames for large spaces and small frames in cosier rooms.
A collection of smaller frames might look good in a cosier room like a bedroom or a small hallway. We love the idea of plain black frames filled with colourful images and patterns. But don't feel limited by 'rules' – it’s your wall, so bring it to life however feels right to you. We’ve got lots of gallery wall frames available so have a look around for some inspiration, and most of all: have fun!
Top tip: Get creative by sprucing up some old frames with some spray paint.
Step two
Gallery inspiration – filling your frames
Now for the really fun bit. Once you’ve chosen your frames, it’s time to decide what to fill them with. Have a good look around your home and get the whole family involved too. The kids will love helping find little treasures for your wall. Here are some of our frame filler ideas, but you really can use anything you can think of as long as it’ll fit in a frame!
Family pictures – capture your fave memories on holidays, important moments like weddings, or just those rare snaps when everyone happened to be smiling all at once.
Kids' artwork – as kids grow, they’ll love seeing things they did when they were little, or you could get them to get crafty and create something new. Kids paintings are a great way to add a splash of colour.
A little nature – press flowers from the garden or a lovely leaf found on a walk.
Inspiring words – print and frame one of your favourite quotes.
Keepsakes – think baby birth tags or a decorated pebble. Certificates, special invites, travel tickets and anything else you find that means something and will look interesting in a frame. You could also think about adding other accessories like a mirror or an ornament.
Top tip: Get crafty by turning your family name into a work of art.
Step three
Gallery layout ideas
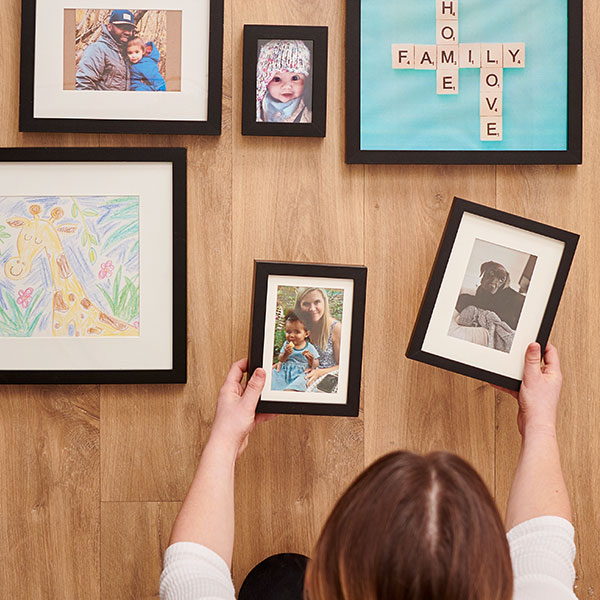
Before you get anywhere near hanging your frames and making holes in the walls, it’s worth laying out your gallery wall frames to see how they look, and making sure they’ll actually fit the space. If you’ve chosen to use the same size or style frames, then a uniform pattern will look great. However, if you’re going for something more mix and match then a more random looking layout will work well. See what goes best where. What images work best together?
Top tip: Start with the largest frame you have and work around this one.
Stand back and look at the collection on the floor to see where you can make changes – its better to realise now than when it’s hung on your wall! And always get a second opinion if you can. It’s surprising what someone else might spot.

Gallery wall shortcut – adhesive hooks!
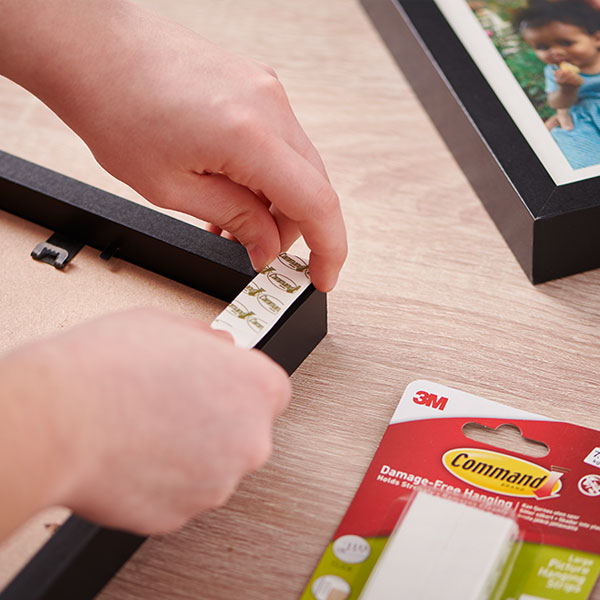
Perfect for a DIY novice, there are now loads of different types of adhesive hooks available to make the job of hanging a lot less messy (and damaging for your wall!) which is particularly handy if you’re renting, or you just don’t feel confident to start tapping nails into your walls. These kind of fixings are so simple to remove that it also means you can change things around more easily if you decide to update your frames.
Top tip: Check the details on your hanging strips to make sure they can hold the desired weight.

Step four
Hang the frames
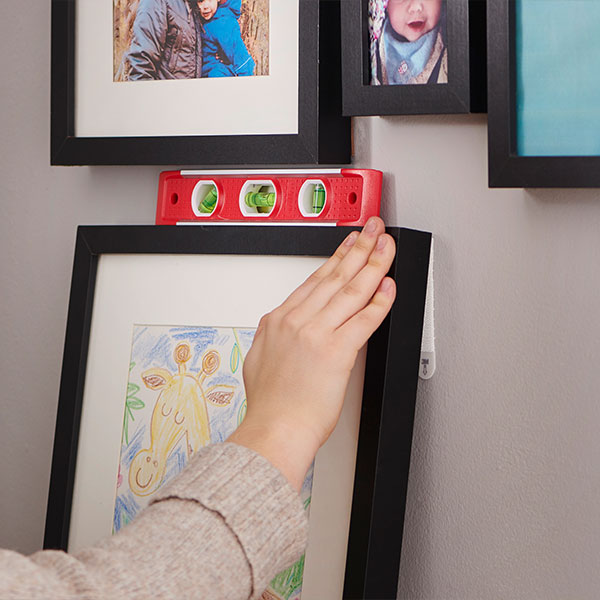
Hanging the frames might seem like the worst part, but it’s not as tricky as you think. If you choose to go with a traditional hanging style, then a hanging kit is well worth considering. You’ll also need to grab a pencil, a rubber and some filler just in case you make any little mistakes. Hold up a frame to where you want it (another pair of hands might help here) and draw lightly around each of the top corners. Measure and mark how much lower down the picture frame you want your nail holes. Start hammering and before you know it you’ll have them all up.
For more tips on hanging frames, we've got a whole blog on it here!
Top tip: Use a spirit level to make sure those lines are straight!

Another great gallery wall idea
If you don’t have the space or want to commit to a gallery wall, then layer the photos on top of an existing shelf or bookcase. Floating shelves would work well with this too. They’ll make your storage look less like storage and more like decor. And what’s great is you can add other features like our no-maintenance fake plants!
Step five
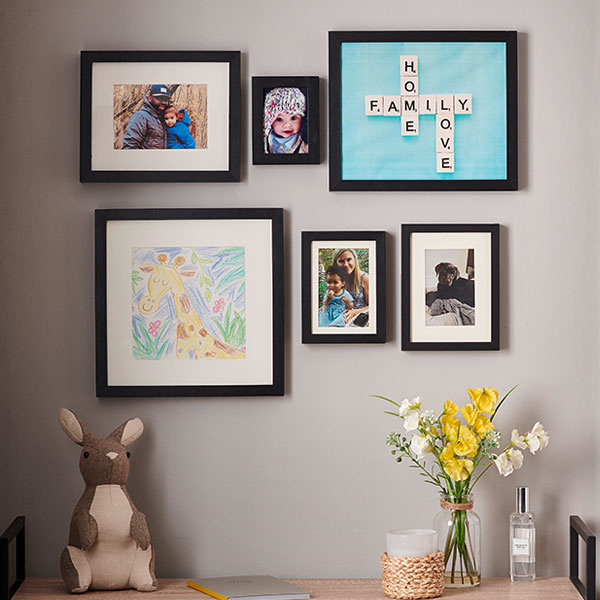
Enjoy your finished gallery wall
Congratulations! Your work here is done. Stand back and soak in your new gallery wall. It might even be nice to make a little event of unveiling your finished wall to the rest of the family and raise a toast to all the lovely memories it holds. What a great excuse to chat about all those precious moments.
Top tip: Remember it can be easily updated, so why not add a little something new each season?

We hope we’ve given you plenty of gallery inspiration to help you create one of your own. It really is a lot of fun to do and will create such a lovely unique focus to any space. If you enjoy this project and have got the decorating and DIY bug, why not check out some of our great priced decorating essentials to help you get all your home jobs done.
We’d love to see how you get on with your gallery walls and hear any other great decorating tips you might have.
Let us know on Facebook, Instagram, TikTok & X.