How to paint wood like a pro!
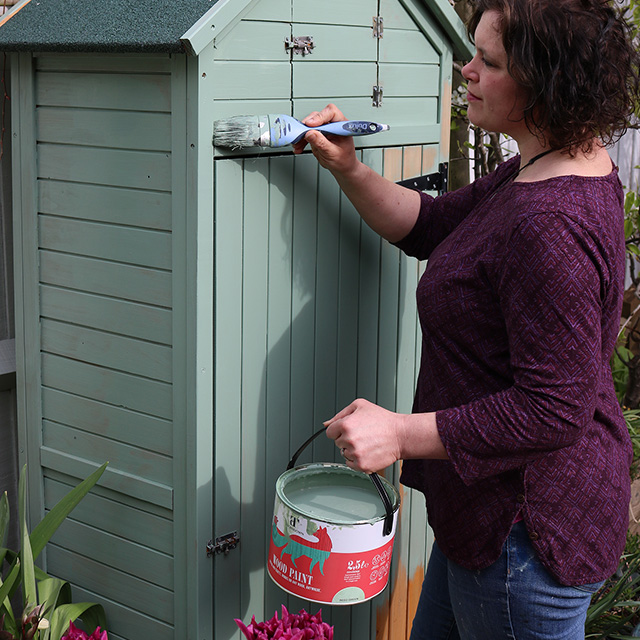
Painting wood is easy with a bit of prep and good quality products. We’ve teamed up with our friends at Thorndown to give you the run down on how to paint wood like a pro!

If you’re looking for tips on how to paint wooden furniture, fences, pergolas, or any wooden surface inside and out, this handy guide is for you!
Wooden furniture and features add a rustic charm to your home and garden, but it’s important to make sure they’re well looked after to avoid drying out, looking sad, and weakening over time.
Painting wood with a quality wood paint is a fantastic way of bringing some life back to your furnishings and maintaining them in the process! Not only will your wooden surfaces look better, but they’ll be stronger and protected against the elements.
Brushes and paint at the ready – it’s time to learn how to paint wood with help from the professionals at Thorndown.
1. Pick your paint
With so many shades to choose from, you’re sure to find the perfect paint from our range. If you’re having a hard time choosing, think of the colours which will fit with your home or garden theme, flowers, or that simply put a smile on your face!
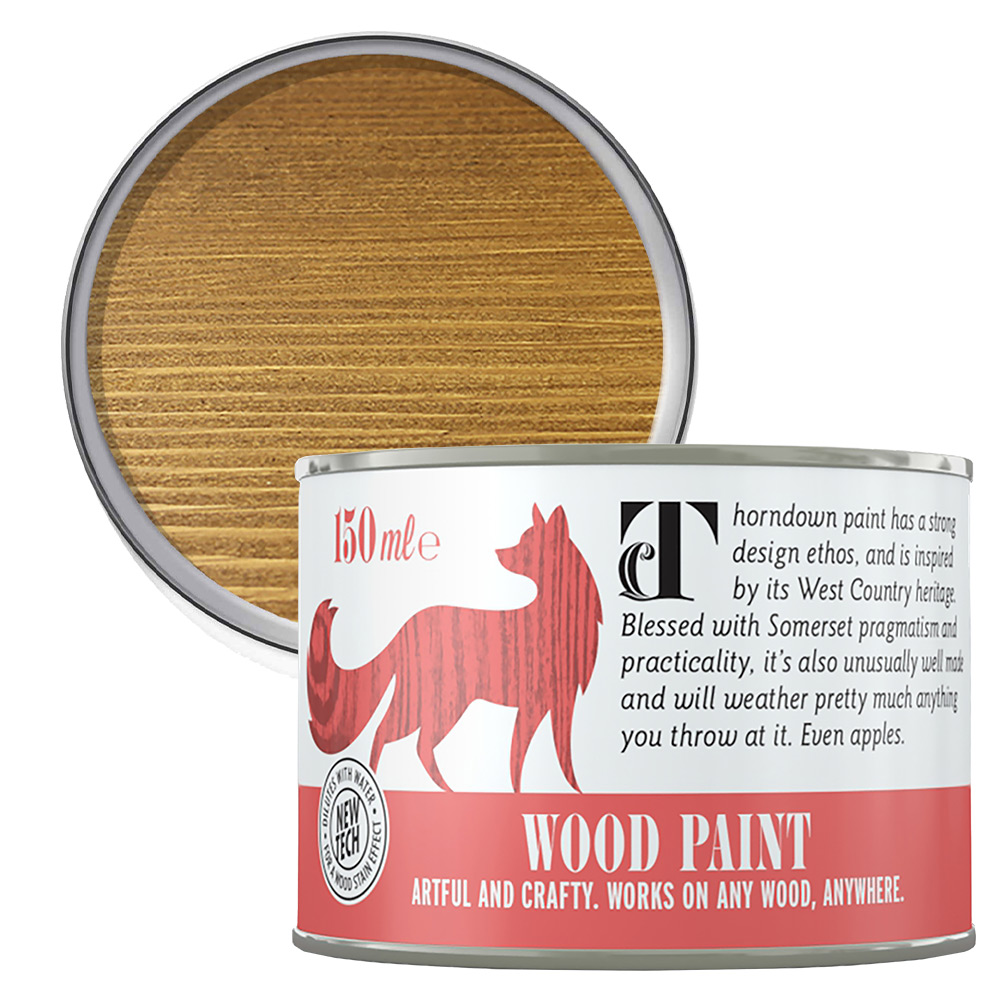
Thorndown wood paints are water repellent, micro-porous (so the wood can still breathe under the paint), and frost resistant to protect your wooden surfaces for longer – up to 10 years, in fact.
Wood paint differs from other paints by letting the natural grain of the wood show through the coating, and with translucent colours you see the original beauty of the wood enhanced with a natural wood tone. You can even get creative and mix colours together to find your perfect shade!
2. Preparing wood for painting
Before you let loose with the paint, it’s important to start preparing wood for painting.
- First, the weather. Make sure rain isn’t forecast for at least 24 hours to allow plenty of time for your paint to dry and bond with the surface. This is easier said than done if you’re in the UK, but it’s important for the appearance and effectiveness of your job! Keep any portable items like wooden furniture under cover in an outbuilding just in case, so you don’t have to worry about sudden downpours
- Take some time to clean the wooden surface before painting: you can use soapy water to wash off any dirt, or get out the pressure washer to blast off any stubborn dirt or algae
- Make sure that whatever timber you are painting is dry before painting, or your coats of paint won’t fix properly to the surface
- This is also a good time to get the screwdriver out and check if any screws need tightening!
Do you have to sand wood before painting?
Sanding off any rough patches or old paint from your surfaces makes your job much easier and leads to a better-looking result. Painting over old, flaky paint will only result in the paint flaking off anyway, taking the new paint with it!
3. How to use a primer
Although Thorndown wood paints are self-priming and require minimal prep, using a primer can give your wood paint job added strength and an even finish.
- Using a brush or a roller, apply a base coat of stain-blocking primer to your surface. One coat usually does the trick, which can be dry in one hour in good weather! A second coat may be required on particularly knotty wood.
- A quality primer blocks tannins from the wood from messing with your finish, seals in sap from porous wood knots, and blocks stubborn stains
If you’re painting new wooden furniture, you may want to use a wood preserver – untreated softwood is more vulnerable to decay and benefits from a coat of preserver before anything else.
4. Dilution
One of the beautiful things about wood is its natural patterning. If you want to show that off even more, you can dilute your paint with water up to 50%.
For full protection, you can finish off with a couple of clear coats, a great way of painting wood whilst retaining its natural beauty!

5. How to paint wood
You’ve picked your paint, prepped your surface, applied a primer or preserver, and now it’s time to paint!
Grab your Thorndown paint and a good brush, roller, or paint sprayer – let’s get to work:
- The old tried-and-tested phrase is ‘avoid the rain, apply with the grain’: if you’re using a brush or roller, applying your paint in the same direction as the grain of the wood leads to an even coat and an easier painting job
- If you’re painting a large area like a garden fence, paint up to still-wet paint. Applying over dry paint can make things look uneven and patchy
- Once you’ve applied your first coat, leave it to dry for an hour or 2 before adding a second coat
6. How many coats of paint are needed?
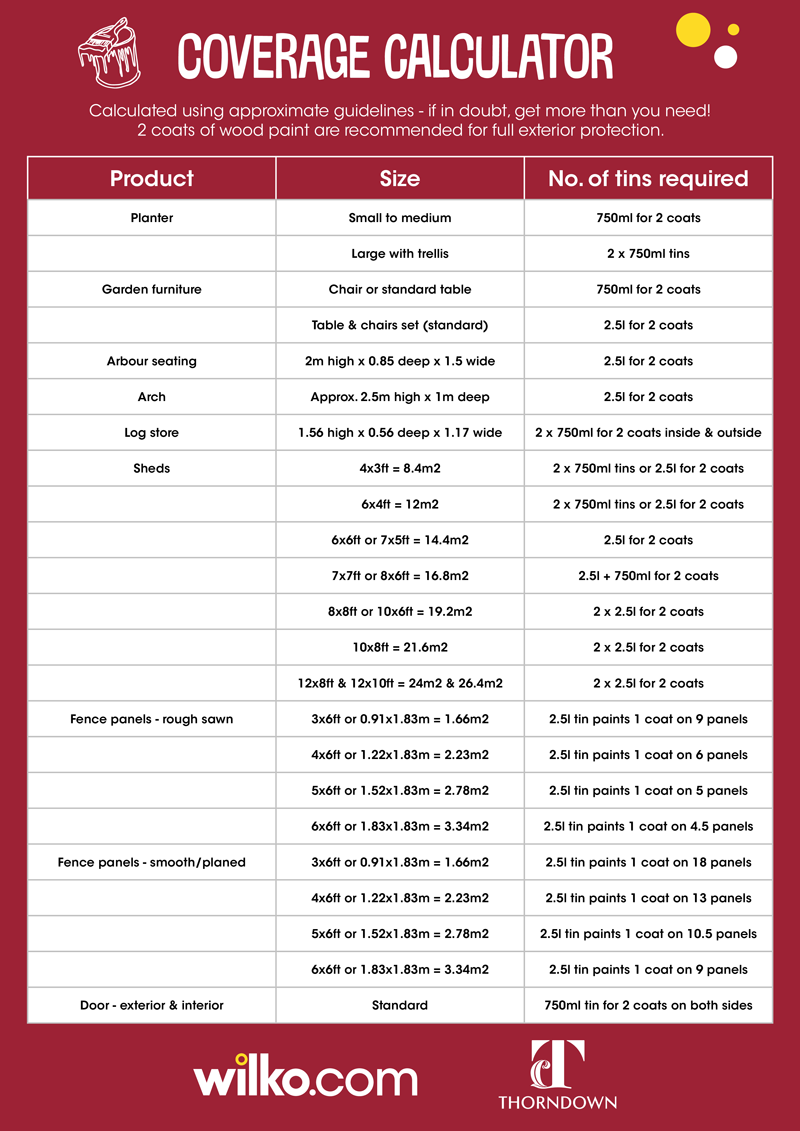
- Although 1 coat of Thorndown will be fine for fences if you’re planning on regularly topping it up, 2 coats are recommended for full protection and a long-lasting coating on everything else
- Horizontal surfaces take more of a beating than vertical ones from things like UV rays, rain, and snow. Give these bits extra attention with an additional coat of paint for good measure. You can further protect them with garden furniture covers!
- The cut ends of furniture feet are particularly good at soaking up liquid, so it’s good to give these 3-4 coats of paint to seal them properly
- Don’t forget the underside of garden furniture! Flip your furniture upside down and paint the underside, making sure to deal with any drips that fall through slats. If you apply 2 coats, this part should be fully sealed and won’t need to be touched for 10 years. Set an alarm!

7. Drying
How long does paint take to dry?
Your first coat of paint can take anywhere between 1-2 hours to dry, depending on the weather. If it’s hot outside and low humidity, it can be dry in under an hour.
Though the paint will be dry, the curing process takes much longer. Don’t be tempted to sit on your garden furniture for another 24 hours so that the paint can work its magic.
8. Cleaning up
With water-based paints like Thorndown, simply use water and detergent/soap to clean up your paint equipment after use.
If you’re using a sprayer, don’t let the nozzles dry out or they’ll be a nightmare to clean!
9. Disposal
We all want to do our bit for the environment, so please don’t throw any unused paint down the sink or drain. Check in with the local authorities, as your local recycling centre usually has free facilities for disposing of paint.
Thorndown paint tins are fully recyclable (yay!), as long as they’re clean.
10. Storage
Congratulations – you deserve a sit down and a cold drink after all that painting! If you have paint left, not to worry: your sealed tins will keep for a good couple of years when kept away from extremes in temperature.
Clean up the rim before popping the lid on, or it takes a feat of strength to get it off again. Stir well before using next time!

Are you particularly proud of a painting project? Got any before-and-afters of your wooden furniture? We’d love to hear from you on Facebook, Instagram or X or TikTok


